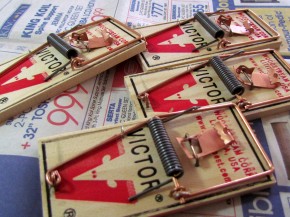
So I was perusing the dollar store the other day and ran across the mouse traps. After staring at them a bit, I threw a pack into my cart and was met by my husband’s questioning stare.
“Crafts”, I said.
He shrugged and moved on. Yep, my husband has gotten used to my weird way of thinking. Most folks look at these little wooden traps of springing metal and think “dead mouse”. I, on the other hand, think “cool looking refrigerator clip!” I guess that is the difference between us crafters and mere mortals. Ha!
Are you new to the Sitcom? Be sure to check out my Frequently Asked Questions Page!
For this project I used:
Four wooden mouse traps
Acrylic paint in bright colors
Clip art, duplicated six times
Thin sheet of cardboard
Matte Mod Podge
White glue
Magnets
Acrylic paint in bright colors
Clip art, duplicated six times
Thin sheet of cardboard
Matte Mod Podge
White glue
Magnets
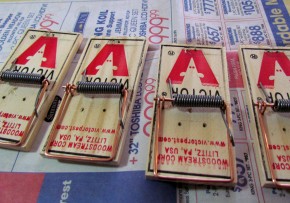
I began by taking the mousetraps apart, removing everything but the big metal spring.
I then chose four bright colors and painted the wood of each mouse trap. I would have taken another photo at this point, but the stupid battery died on the camera, so you will have to take my word for it. It took about three coats of acrylic paint to cover up all the wording on the traps.
Now for a theme. I decided to go with the four major food groups. You know, ice cream, fast food, hotdogs, and donuts. (You really didn’t think I was going to say veggies, did you?) Anyway, I used a clip art program and chose my graphics, printing six of each graphic. I began by cutting out one of the graphics entirely, using a small pair of nail scissors.
 | 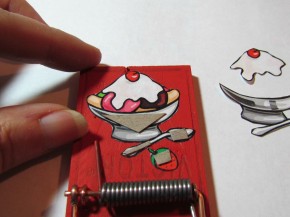 |
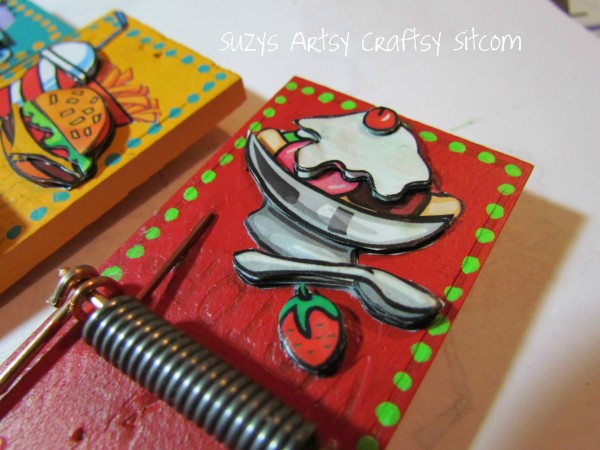
Using a second graphic, I cut out the next layer. I’m going for a 3D effect here by raising those areas that would be closer. Cutting some thin cardboard, I glue it down on top of the areas that I am raising using the white glue.
I then glued my second layer over top of the cardboard pieces.
 |  |
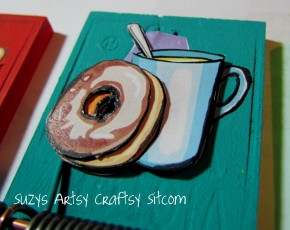
I repeated this process with a third layer, choosing items that would be even closer, cutting them out and gluing them over tiny pieces of cardboard to raise them.
I then added a fourth layer, using the same process.
This created a great 3D look. I then repeated the process on the other traps using my other clip art.
 |  |
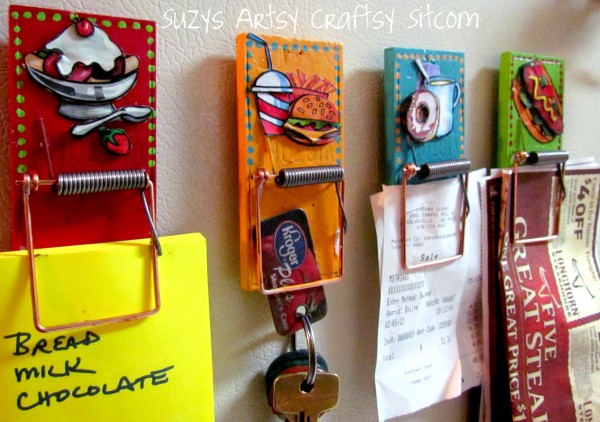
I then added some dots around the edges in contrasting colors and coated the whole thing in Matte Mod Podge to protect the paper and give it a finished look.
The final touch was adding a magnet to the back of each one with hot glue. And what do we use these for?





No comments:
Post a Comment